Before The Detail
(Step 1) Book Appointment
Book your appointment online with our easy to follow booking form.
(Step 2) Confirmation Email
We will send you a confirmation email for your appointment. Also a second email with the price estimate will be sent.
(Step 3) Arrive at location/walkthrough
We arrive at your location and have a walkthrough of the vehicles condition, expected outcome and any special instructions or requests. This part is not required if you are not present or would like for us to get straight to work.
Interior Detail Process
(Step 1) Take Pictures
We will take before pictures of the vehicle prior to starting the detail, these pictures will be shared with the customer if requested.
(Step 2) Remove garbage/items in vehicle
Any obvious garbage will be removed from the vehicle and placed into a garbage bag that we will get rid of for you. Any personal items left in the vehicle will be moved aside as needed and placed back in the vehicle at the completion of the detail.
(Step 3) Initial Cleanup
We start by vacuuming, blowing out and dusting all surfaces to remove the bulk of dirt, dust, hair etc. Floor mats will be taken out and cleaned separately. (odor and/or stain removal will be performed during this step if requested for an additional fee)
(Step 4) Deep Clean
A cleaning of all hard surfaces including the dashboard, door panels, cup holders, console, under seats, electronics knobs, steering wheel etc. will be thoroughly attended to.
(Step 5) Shampoo/Condition
We will shampoo cloth or condition leather seats. We also shampoo floor boards and removable mats during this process if they are carpet.
(Step 6) Dressing
All plastics, leathers and cloths will be treated or dressed with a protective coating. These coatings contain UV protection for hard surfaces and leather to avoid sun damage and fading. Cloth will be treated with a water sealant dressing to make future cleanup easier.
(Step 7) Windows
The windows will be cleaned with no streaks left behind and a thin layer of protection to avoid water buildup on those rainy days, this will cause the water to bead rather than run down your windows, making it easier to see in heavy rain.
(Step 8) Cleanup Vacuum
We will vacuum the vehicle at the end of the detail to cleanup any last minute dirt or debris we may have missed or accumulated ourselves.
(Step 9) Interior Check
After the interior has been cleaned we will perform a final check to make sure we didn’t miss anything. We use a dedicated checklist during this process so nothing slips by.
(Step 10) Post Detail Pictures
We will take pictures after the detail is complete. These pictures may be uploaded to our website and social media unless otherwise requested. These pictures are also available to be shared with the customer upon request.
Exterior Detail Process
(Step 1) Take Pictures
We will take before pictures of the vehicle prior to starting the detail, these pictures will be shared with the customer if requested.
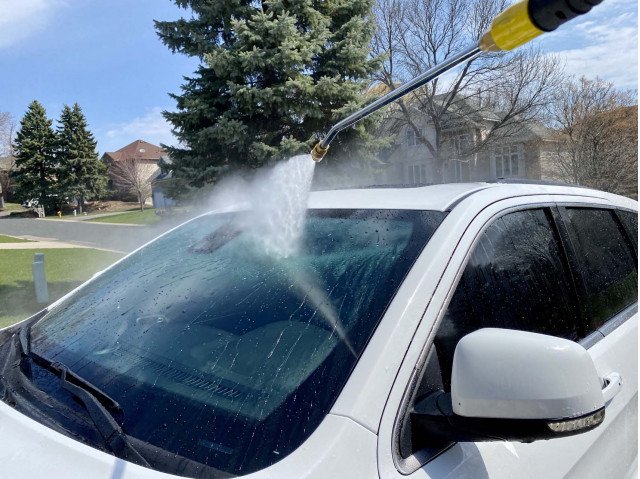
(Step 2) Pre Rinse
The entire vehicle will be rinsed with a pressure washer with a psi that is safe to be used on paint to remove excess dirt and mud.
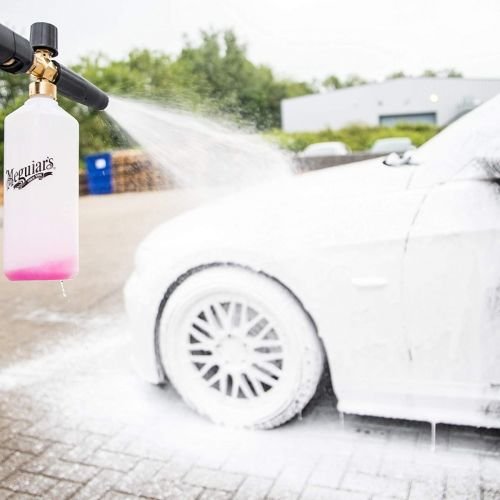
(Step 3) Foam Bath
The vehicle will be coated using a foam cannon attachment that will dissolve any of the remaining dirt and grime left on the vehicle. (engine detail and/or headlight restoration will be performed before this step if requested for an additional fee)
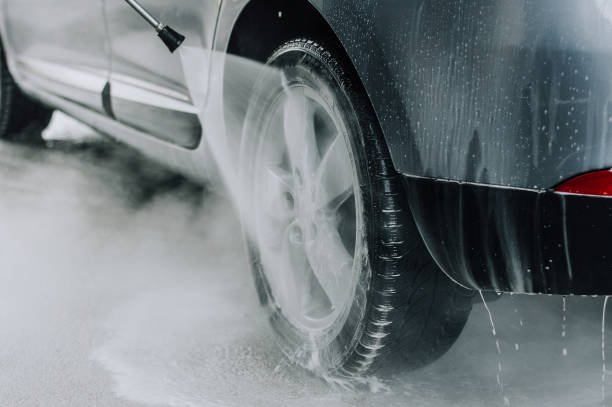
(Step 4) Tires & Wheels
The tires and wheels will be cleaned and dressed first with a dedicated wheel brush and wash mitt to not spread break dust and road grime onto the paint.
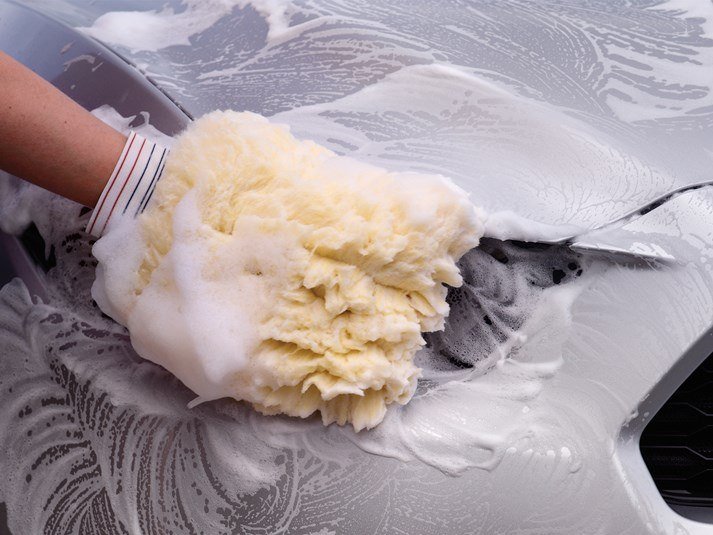
(Step 5) Hand Wash
We will wash the vehicle using non scratch wash mitts and warm soapy water along with detail brushes to clean areas that are harder to reach with a wash mitt such as the grill and around mirrors and emblems.
(Step 6) Rinse
After washing, the vehicle will be rinsed of all remaining soap residue.
(Step 7) Towel Dry
The vehicle will be towel dried to not leave any water spots on the paint.
(Step 8) Spray Wax/Polisher
The entire vehicle will have a spray wax applied.
(Step 9) Windows
Lastly we clean the windows with a streak free and crystal clear cleaning solution.
(Step 10) Exterior Check
After the exterior has been cleaned we will perform a final check to make sure we didn’t miss anything. We use a dedicated checklist during this process so nothing slips by.
(Step 11) Post Detail Pictures
We will take pictures after the detail is complete. These pictures will be uploaded to our website and social media unless otherwise requested. These pictures are also available to be shared with the customer


